Disabling Windows Defender Antivirus
Windows Defender Antivirus is the "next-generation projection" 1 for Windows provided by Microsoft. It brings together "machine learning, big-data analysis, in-depth trheat resistance research, and the Microsoft cloud infrastructure" 1.
One of the major reasons to disable Windows Defender Antivirus is perform security search in a Windows virtual machine. However, if you go into Windows Security Center and disable Real Time Protection, in a few minutes, Windows will automatically enable the protections again. This can become frustrating.
NOTE I rewrote the page after someone pointed me to commando-vm and realized I was completely missing a setting. Community help to the rescue! (Thanks, John G.!)
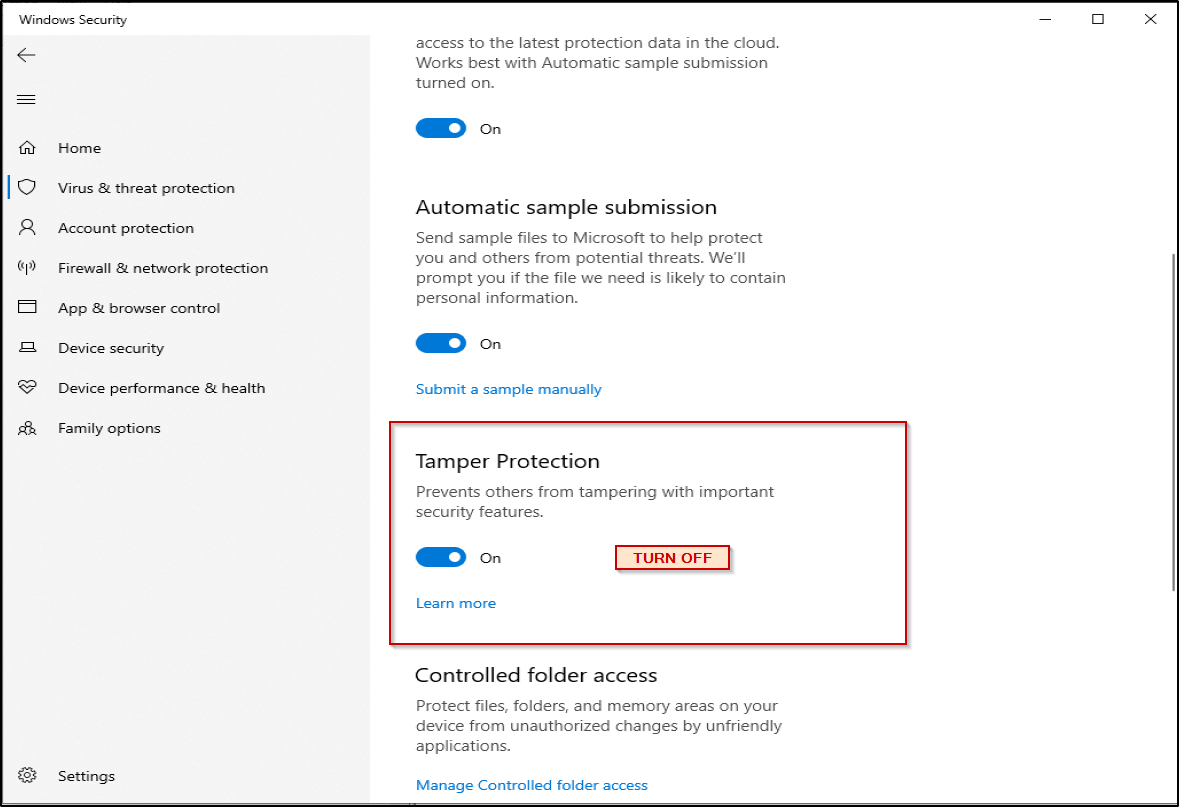
Before configuring, you need to disable "Tamper Protection." First, open the Windows System by Windows Key + R and typing "windowsdefender:" and OK. Then, click Virus & Threat Protection and scroll down to disable "Tamper Protection."
Windows 10 Professional allows power users to modify the local group policies normally reserved for Enteprise users. To open the Local Group Policy Editor, by hitting Windows Key + R and typing "gpedit.msc".
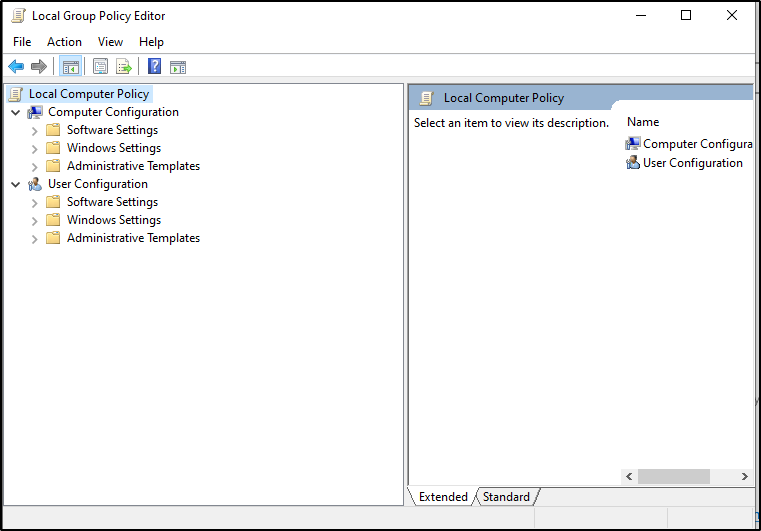
Next click on the following Settings:
- Administrative Templates
- Windows Components
Scroll down to "Microsoft Defender Antivirus".
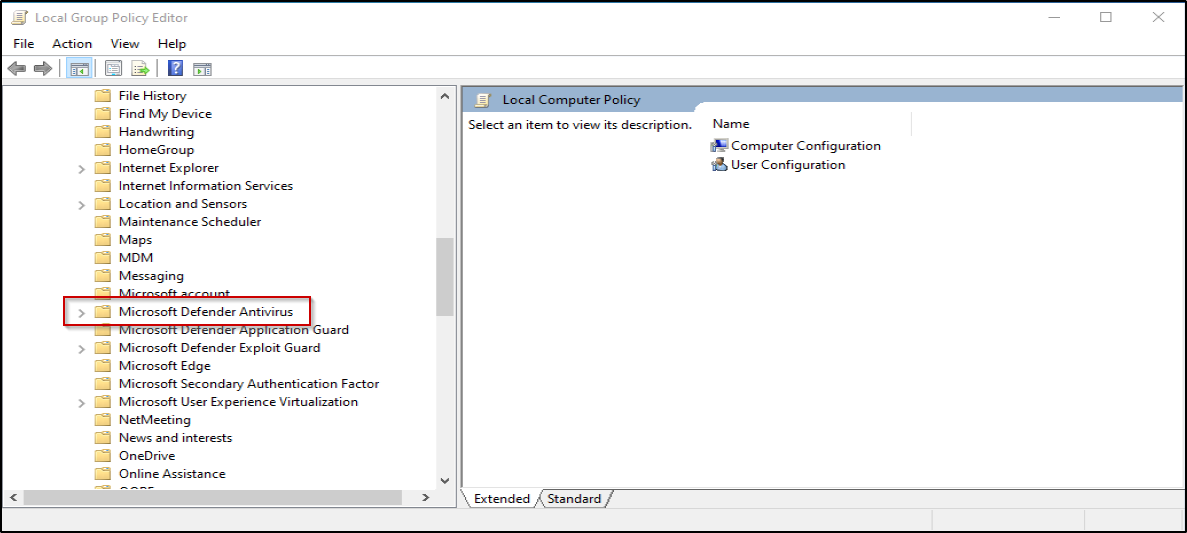
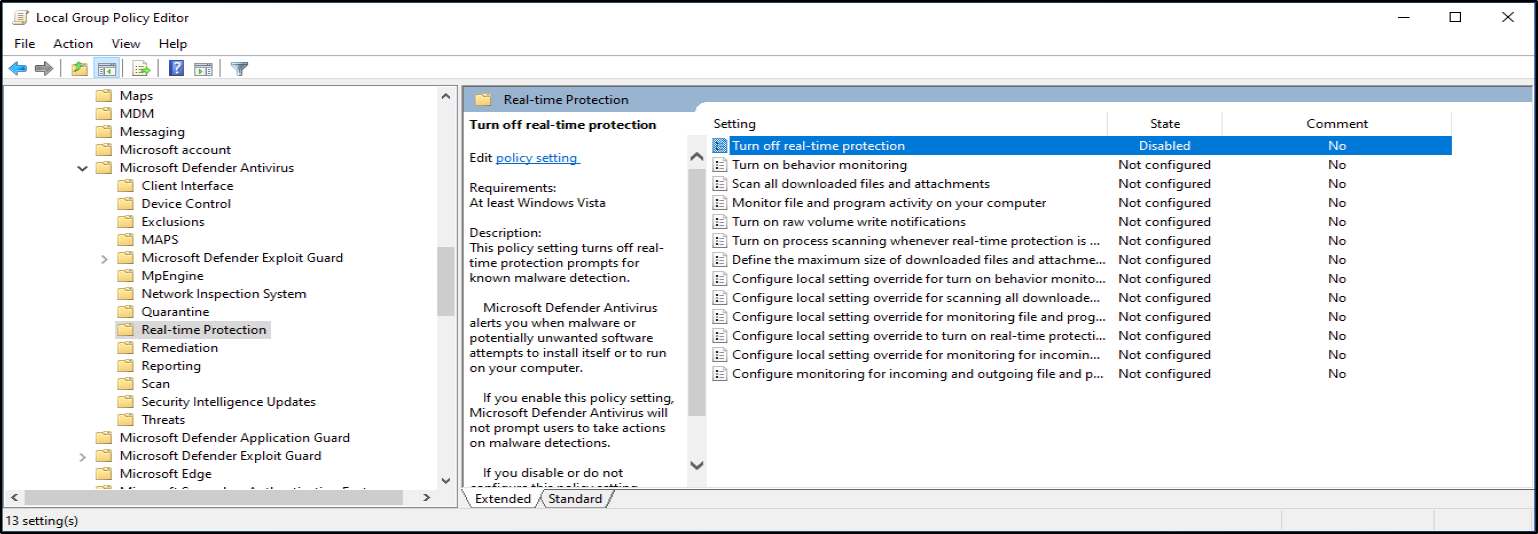
Expanding "Microsoft Defender Antivirus," click on "Real-time Protection" and change "Turn off real-time protection" to Disabled. Restart the computer.
After reboot, do Windows Key + R and type "gpedit.msc". After opening "gpedit.msc," click through the following folders:
- Administrative Templates
- Windows Components
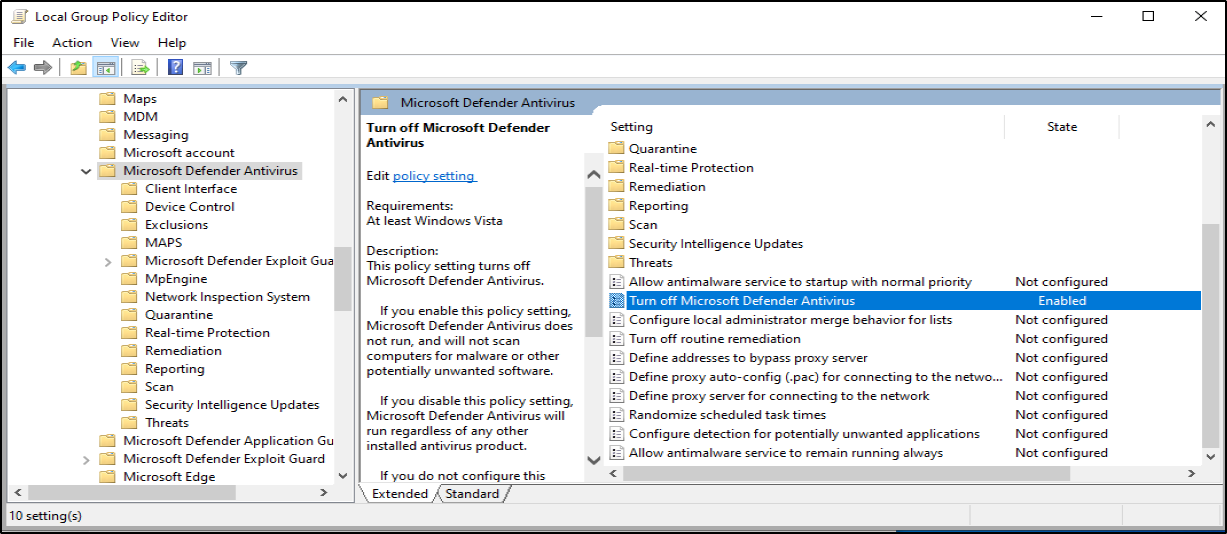
- Microsoft Defender Antivirus
Then, set "Turn off Microsoft Defender Antivirus" to Enable. Note: Enabling this DISABLES the Antivirus. See below.
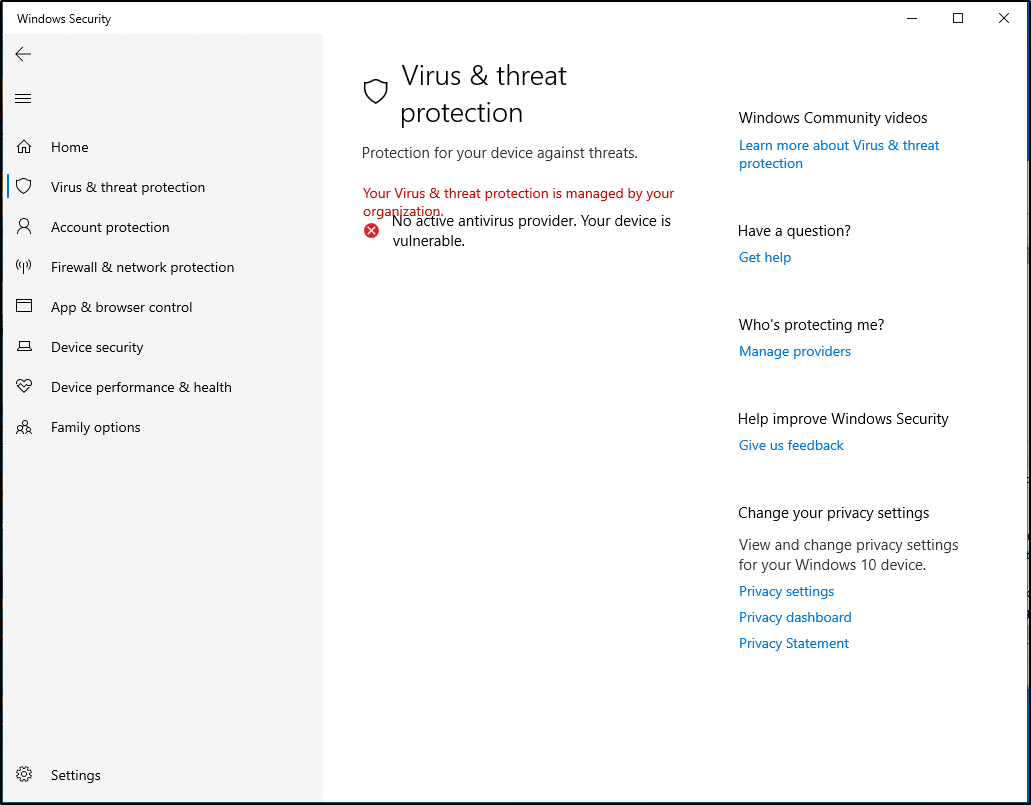
Then, hit Windows Key + R and type "windowsdefender:" and choose "Virus & threat protection." You should see a screen as below:
