Linux: Virtual Machine Tools
First, this walkthrough is going to be quick and will be using the digital forensics tool suite Tsurugi OS, but generally can be applied to many other Linux distros.
What is Tsurugi? Per the site:
Tsurugi Linux is a DFIR open source project that is and will be totally free, independent, without involving any commercial brand Our main goal is share knowledge and "give back to the community"
A Tsurugi (剣) is a legendary Japanese double-bladed sword used by ancient Japan monks
This is not the only DFIR suite. You can check out my start.me for a list of other forensics, infosec, and misc Linux distros. I am chosing this one because I have had great success in using it for all matter of digital forensics. You may use another distro.
Virtual Machine Platform
Most people usually use two different virtual machine platform for everyday home usage: VMware's Workstation (Pro/Player) or Oracle's VM Virtualbox.
If you are just running one or two VMs, then you should grab VM Virtualbox. It's free and run multiple VMs. I would skip Workstation Player. First, you cannot create snapshots, customize networks, create linked clones, create full clones, or have encrypted VMs. Also, running multiple VMs with Player is not an easy to do.
Installation
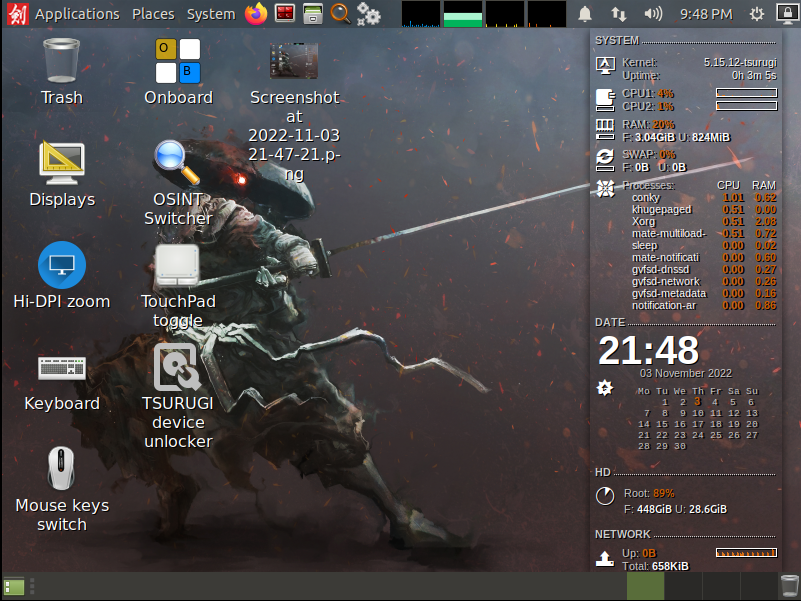
I am not going to go over the steps for the installation. However, you can use any method using any of the download links. I imported the OVA from the download links.
VM Tools
VMware Workstation and Virtualbox both require VM tools to work with the host. These tools provide:
- shared folders
- drag and drop files
- clipboard access
Updating Tsurugi
First, before install the tools package, lets ensure everything is updated.
$ sudo apt update
$ sudo apt upgrade -y
$ sudo shutdown -r now
I generally restart Linux boxes after large updates and always after kernel updates. Yes, I am away it should do live patching, but it is always safe to error on the side of caution.
VMware Workstation
Installing the Open VM tools is a single step:
$ apt install -y open-vm-tools-desktop
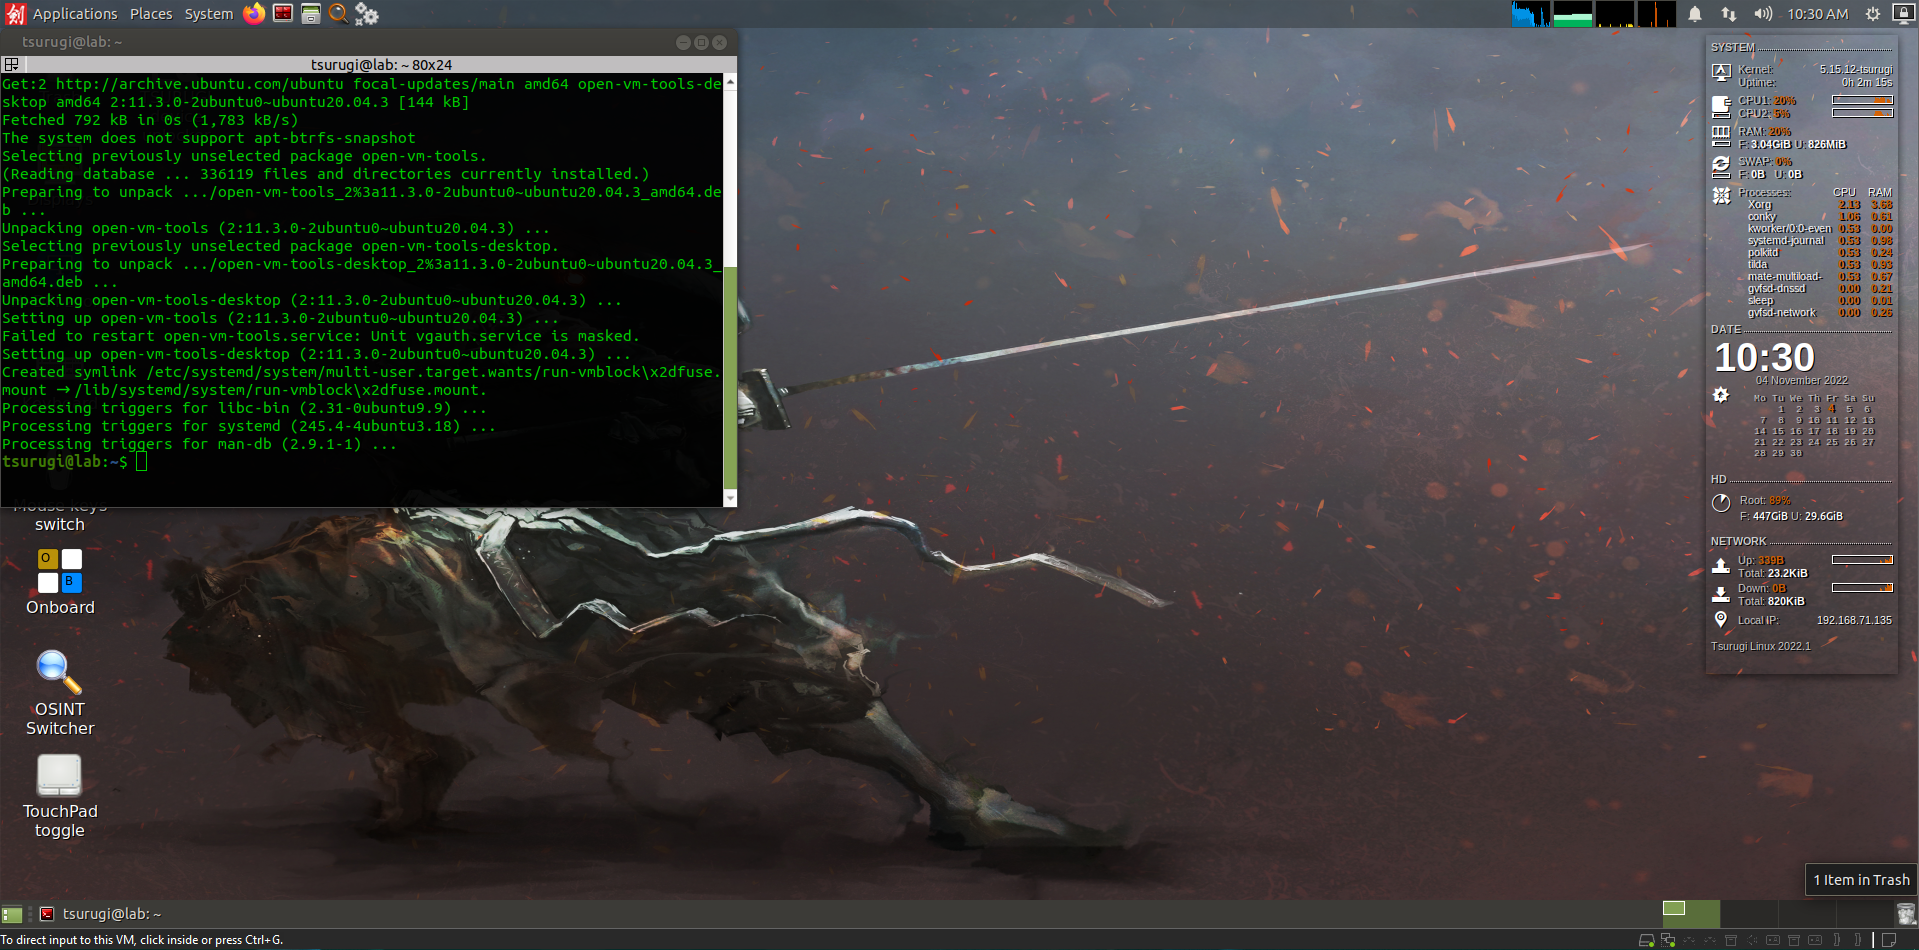
After the installation, the resolution will be fixed. Drag and drop seems to be broken but everything is working. I am going to revisit this to update on a fix.
Oracle VM Virtualbox
Same as before, perform the installation and you will get the following screen. The two notifications (if they show up), can be dismissed.
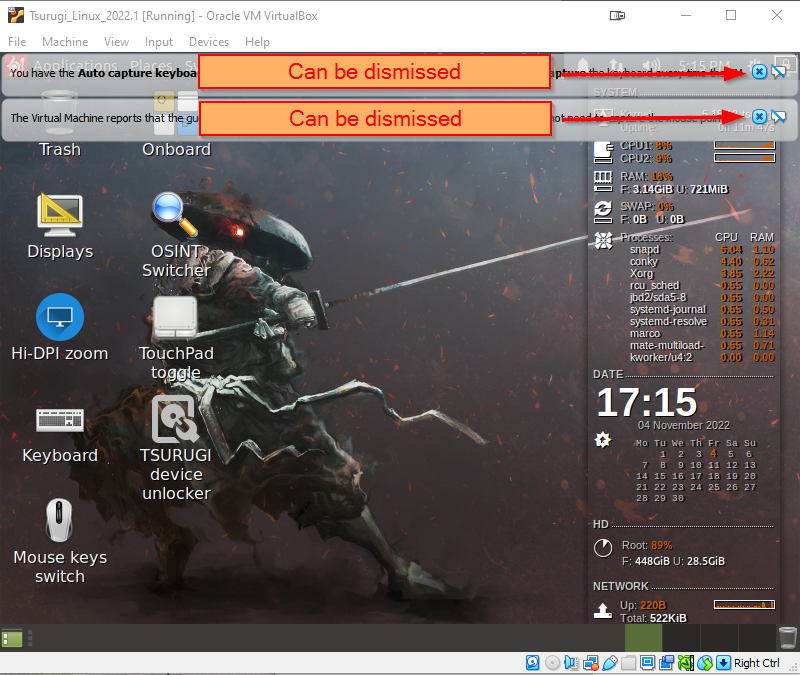
Next, go to Devices > Insert Guest CD Additions image... and open the file manager.
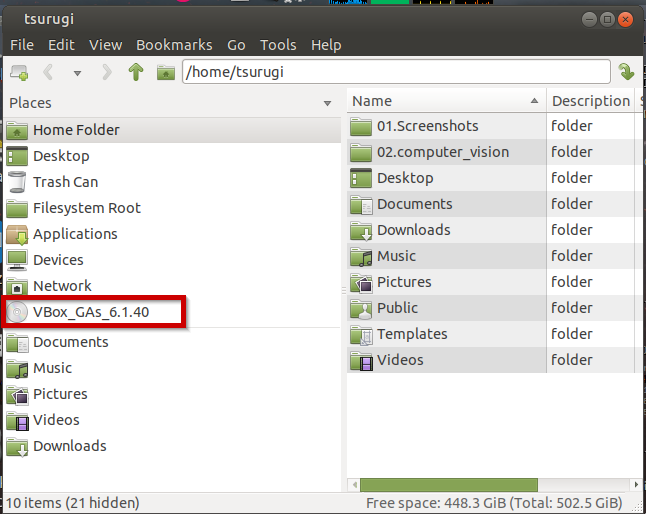
Right click the CD and click Mount in protected mode [Read Only]

Next, open a terminal, cd to the directory, and run the installer.
$ cd /media/tsurugi/VBox_GAs_6.1.40
$ sudo sh VBoxLinuxAdditions.run
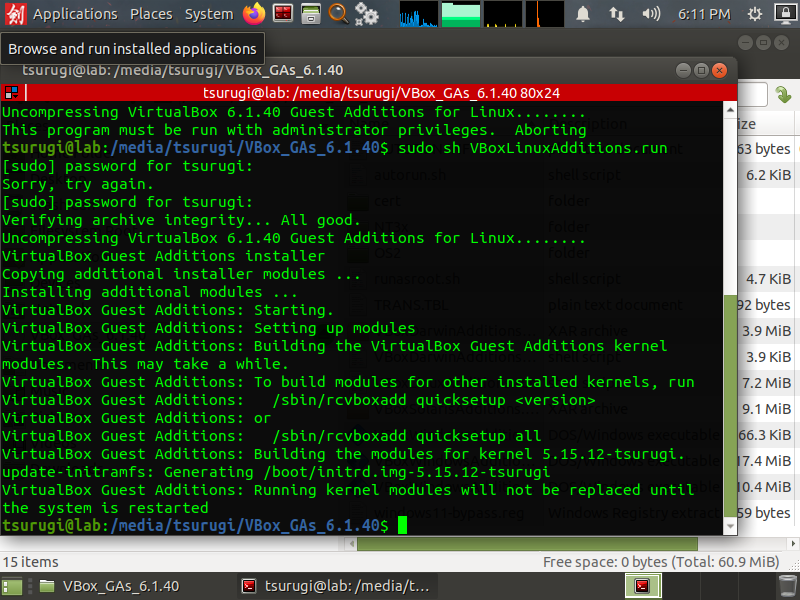
Reboot the VM.
$ shutdown -r now
By default, the Drag and Drop and Cliboard access are disabled. You can enable them from the Devices menu. This does not seem to work out of the box. I will need to revisit this.
Shared folders will work. They are default mounted with only root access.


